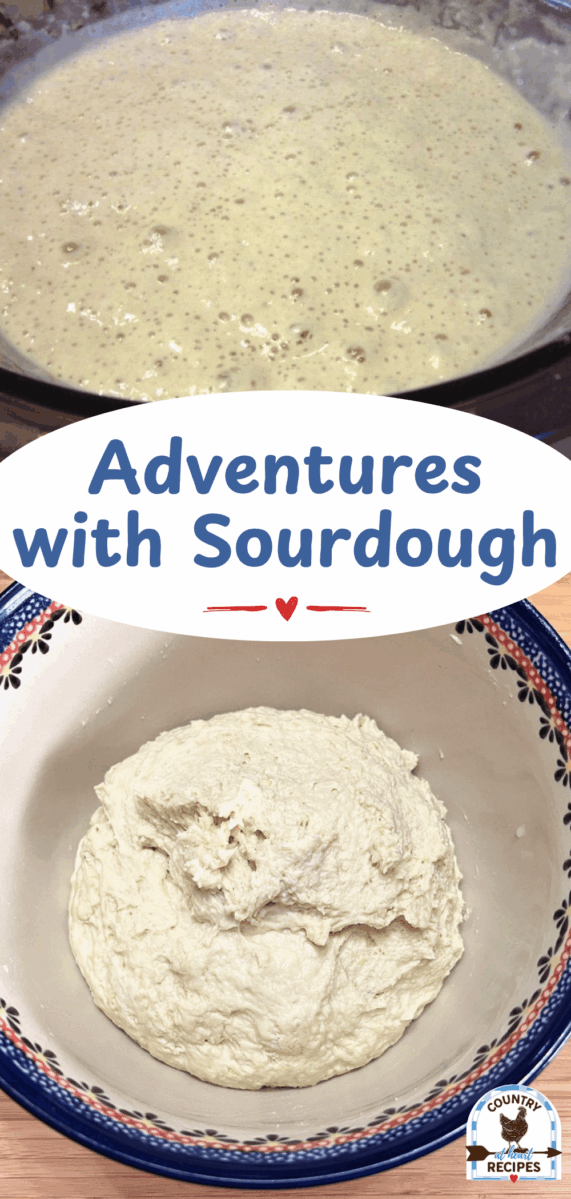


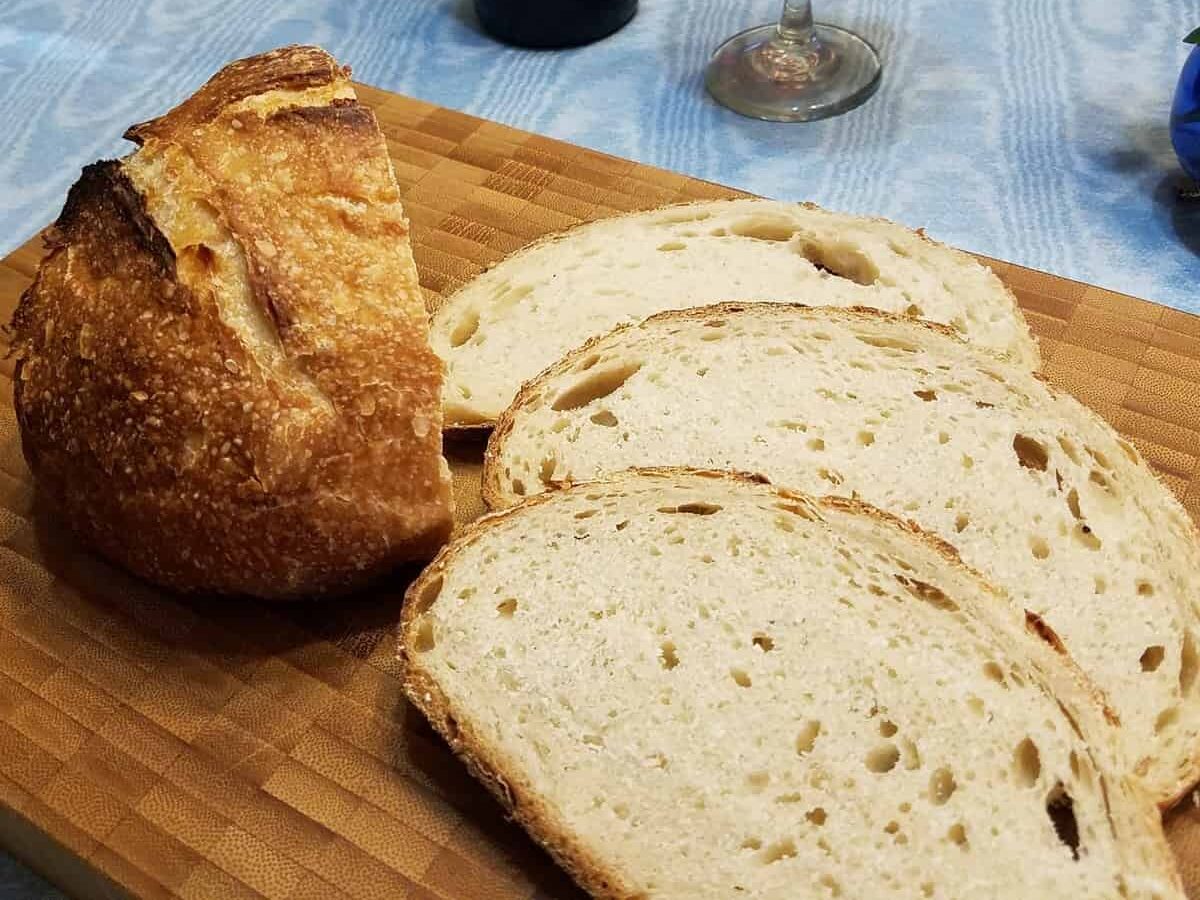
In June 2013, My Adventures with Sourdough began. After all these years of baking some sort of sourdough bread each week, I can still say that we dearly love it.

How My Sourdough Adventures Began
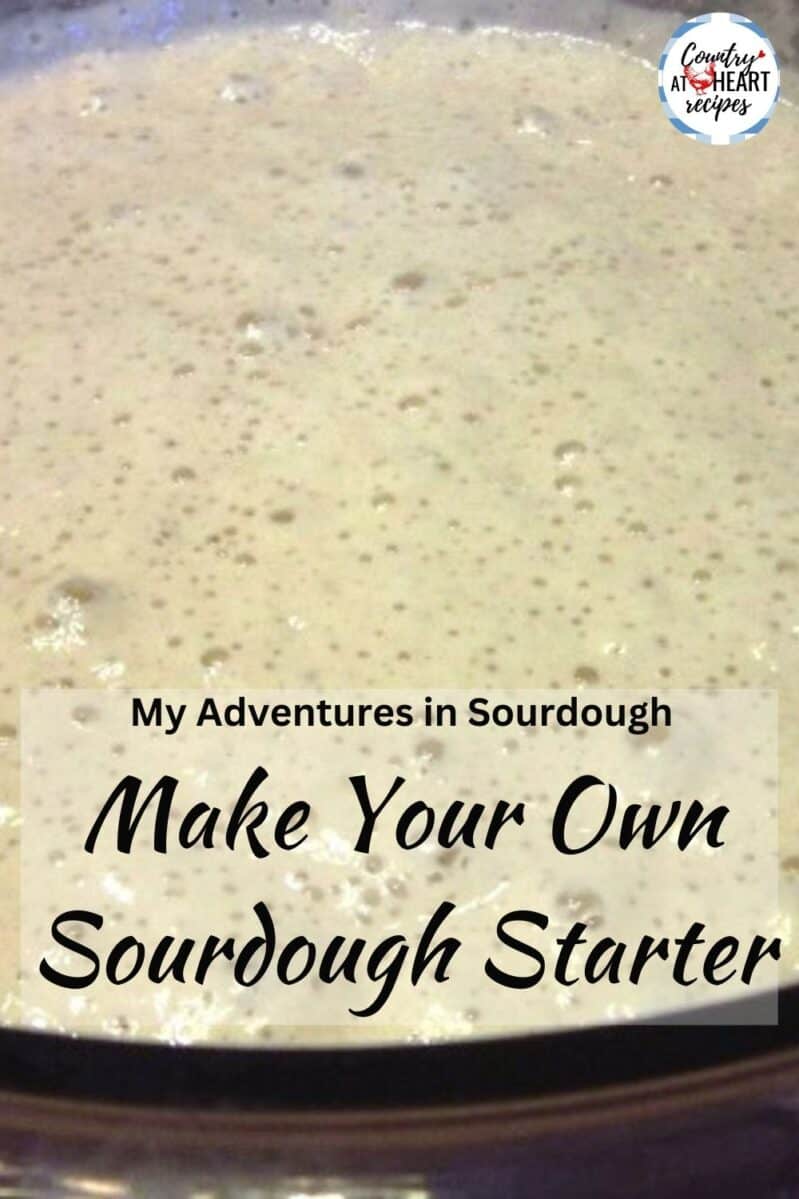
There is much to learn on the Internet about this old-time tradition of baking, and I did a lot of studying before I began my first batch.
When it came time to make my starter, however, I went with a recipe I found on King Arthur Recipes, with a couple of changes in the directions. You may also opt to buy your starter from them, but I decided to make mine from scratch.
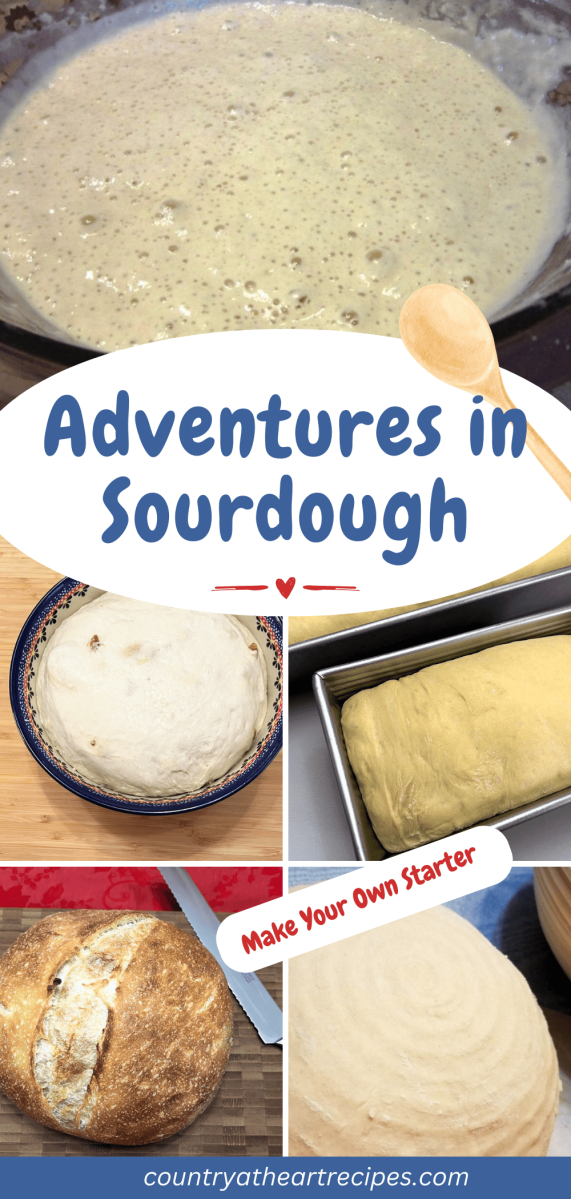
Browse my Sourdough Recipes and Discard Recipes. Learn more about Sourdough Here.
The beginning process takes a week, where you will stir and then feed your starter until it begins to ferment and sour. You’ll store a covered crock of starter on your kitchen counter this first week, but after that, you may refrigerate it in a glass jar or ceramic container until you’re ready to use it. This is especially helpful if you don’t intend to bake sourdough every day. Of course, you’ll want to bring your starter to room temperature before you use it, which lengthens the preparation time.
There are times when I’ll use my starter every day. When that happens, I simply feed it once a day and then use the starter as desired. I keep it on my counter and no refrigeration is necessary.
It’s also worth mentioning that a lot of sourdough bakers give their starter a name. I named mine “Bertha.” She is a living thing, after all.
Ingredients for Sourdough Starter
(As a Walmart Affiliate, I earn from qualified purchases at the links below. See the full recipe at the bottom of this post.)
Instructions for Making a Starter
Day One – Pour the warm water into a 1.5 quart glass or ceramic container or bowl. Add honey and instant yeast. Gradually stir in the all-purpose flour.
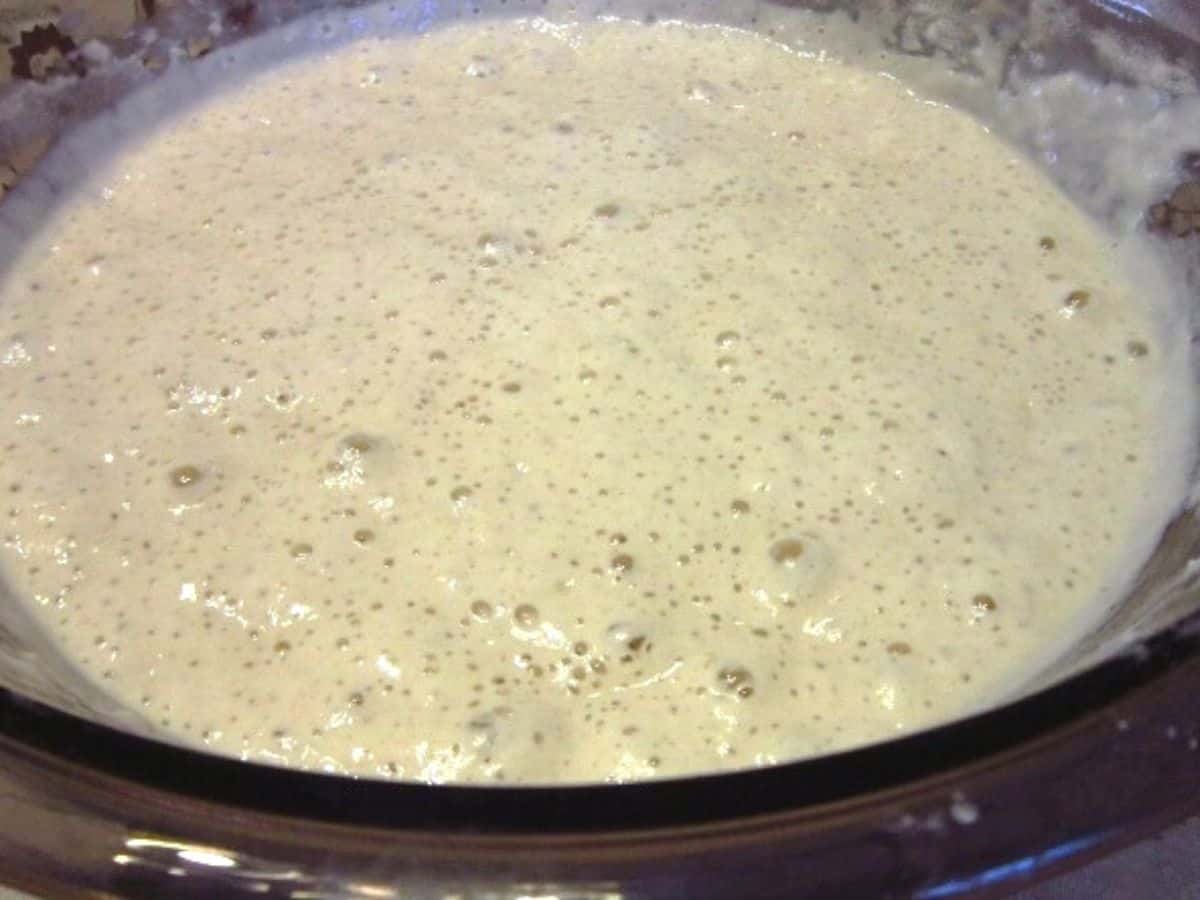
Cover the bowl with a clean dish towel and place it in a warm spot. It is said that a dish towel or plastic wrap allows the starter to capture any wild yeast that is in the air, giving it a better flavor than you might achieve with a lid. The mixture will begin to bubble and brew almost immediately.
Day Two – Allow the starter to set on your counter for 2 days, stirring once a day. When the bubbles have subsided and a yeasty sour aroma has developed, it is time to “feed” your starter.
Time to Begin Feeding Your Starter

Day 3 – Now that your starter has started to smell sour, it’s time to feed it. Remove up to a cup of the starter, also called “unfed starter,” or “discard”. This first week, you will discard the cup of starter into the trash. But it is essential that you get rid of one cup because the starter is going to grow. If you don’t discard it, you may find it bubbling over your container in a huge goopy mess.
When discarding, be sure to leave at least 1/4 cup of starter in your jar. I’ve heard of those who only leave 1 or 2 tablespoons, but I’ve never been brave enough to do that.
Add to the remaining starter: 1 cup all-purpose flour and 1/2 cup warm water. Stir to combine and cover.
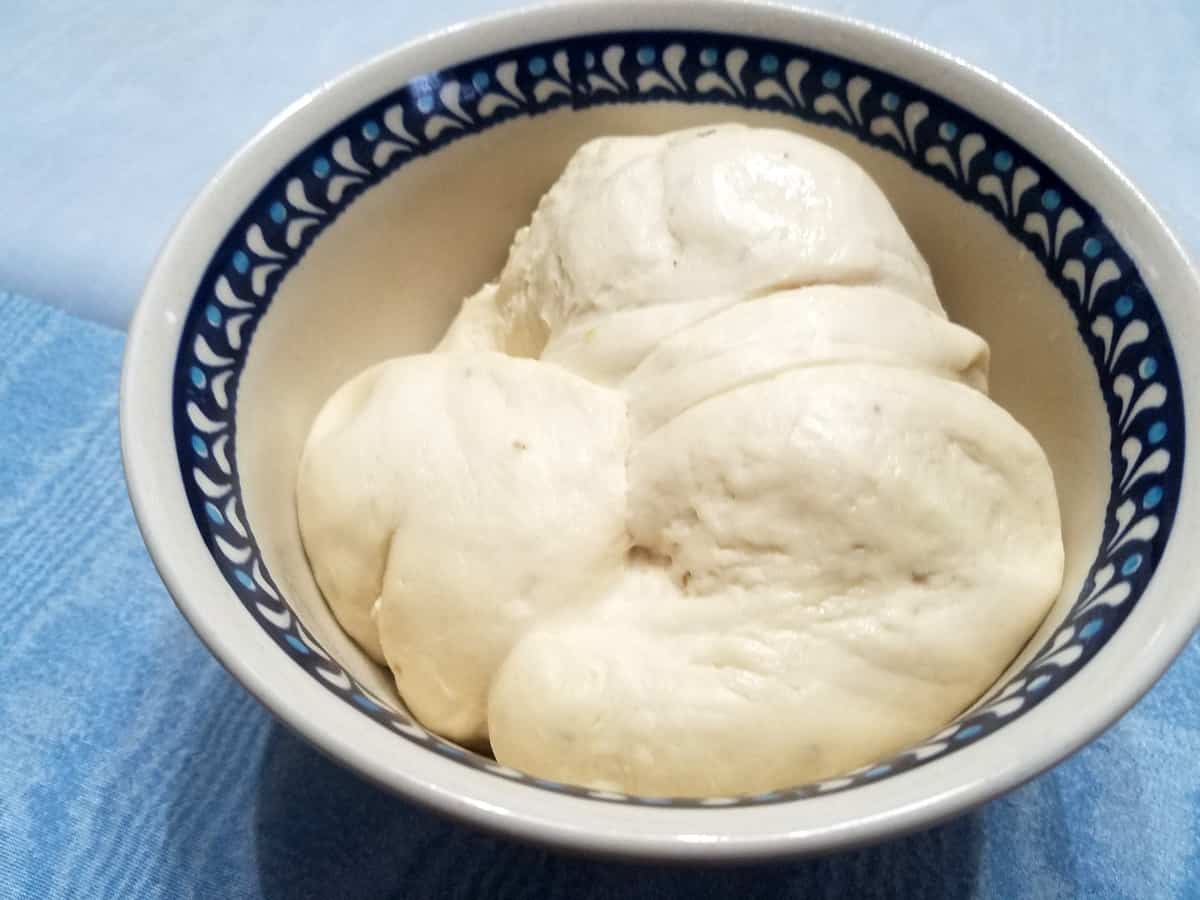
Because I do not weigh my ingredients, I have learned when the starter looks right. If it’s too thick, I’ll add a bit more water to it. Too thin, and I’ll add a bit more flour. Overall, it really doesn’t matter too much, but you’ll see the difference when you form your dough. The more you work with your starter, the better you’ll get at understanding it. Trust me, women have been baking with sourdough for centuries. You can do this!
Days 4-6 – Continue this process of discarding and feeding your starter every 12 hours for the remaining of your first week to get the best “sour” taste from your mixture.

Day 7 – After the first week, you may begin using the active starter in recipes! When not in use, you may refrigerate the starter in a glass or ceramic container.
I chose to purchase a Sourdough Crock from King Arthur Baking to store my sourdough starter. It’s a nice size and comes with a lid. Some people will use a quart jar, which would probably work well.
In these beginning days, it’s best to try and use the starter at least once a week. To do this, remove the starter from the refrigerator and allow it to come to room temperature.
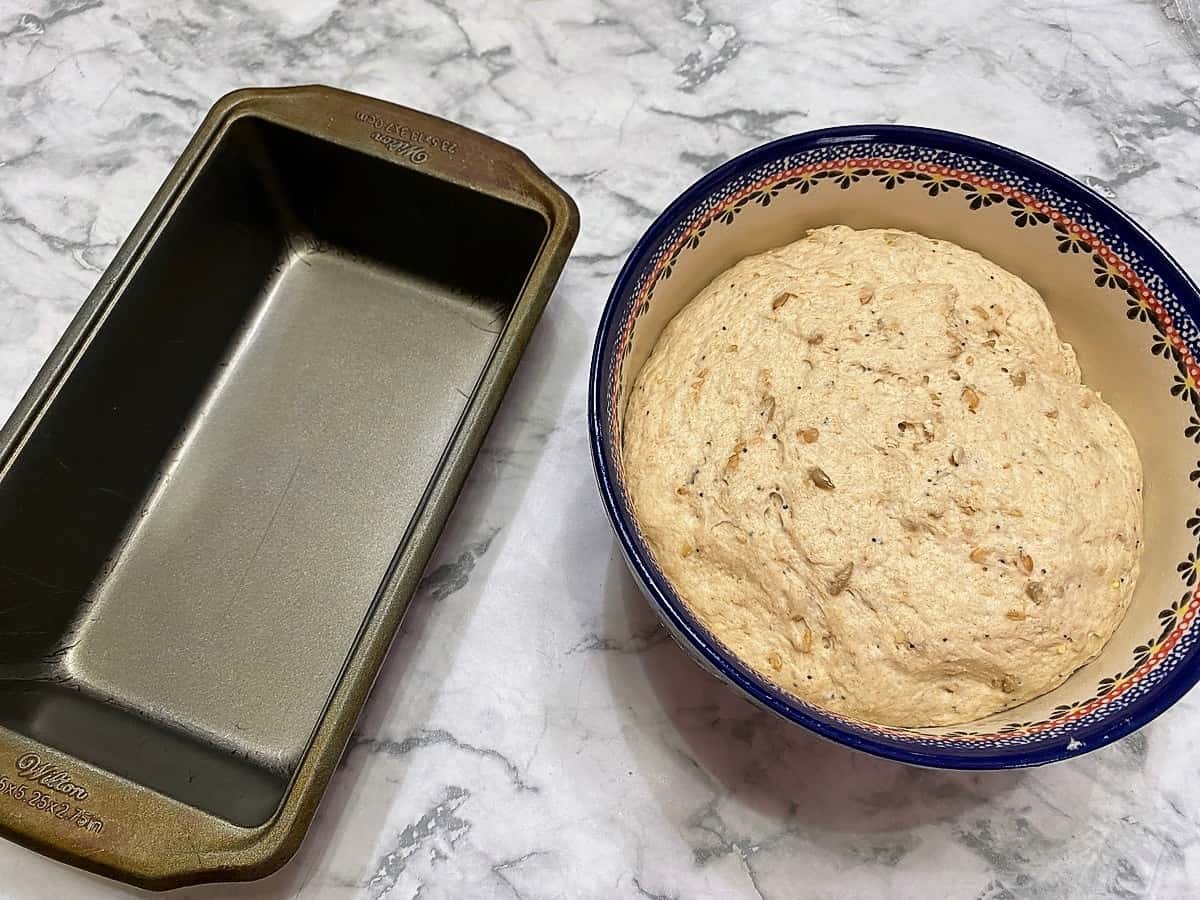
Remove up to a cup of starter (discard). Feed the remaining starter with 1 cup of all-purpose flour and 1/2 cup lukewarm water. Stir to incorporate. Allow it to rise and once it has nearly doubled, it’s ready to use in recipes.
You may also use the discard in a discard recipe such as biscuits, crackers, pancakes, etc. This recipe will make about 2 cups of starter.
Remember, the more you use your sourdough, the more vigorous and sour it will be become. I hope that your adventures with sourdough will be as enjoyable as mine.
Ways to Use Your Starter
Here are a few of my favorite recipes to make with sourdough. Note that I’ve broken these into two groups: 1) discard or “unfed” recipes; and 2) fed or active recipes.
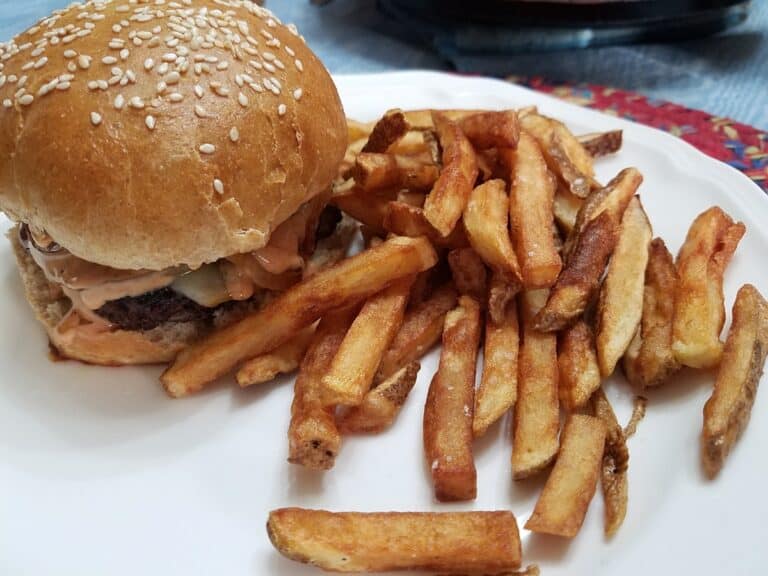
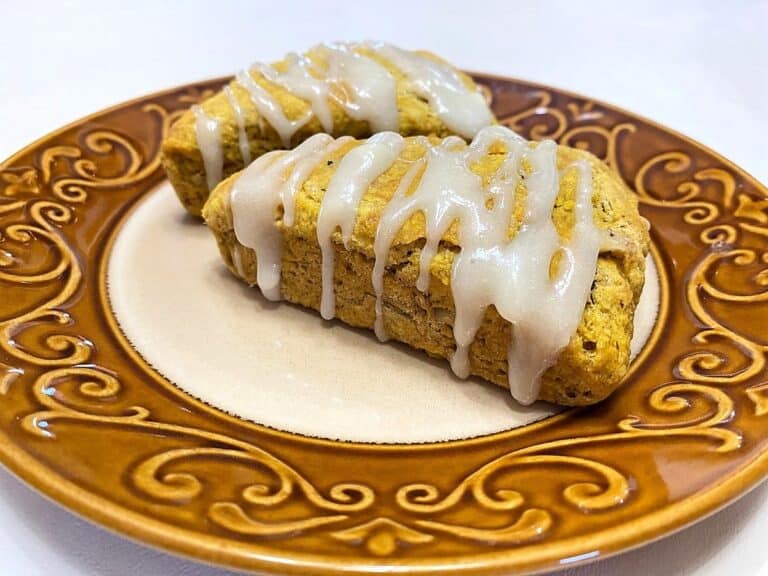
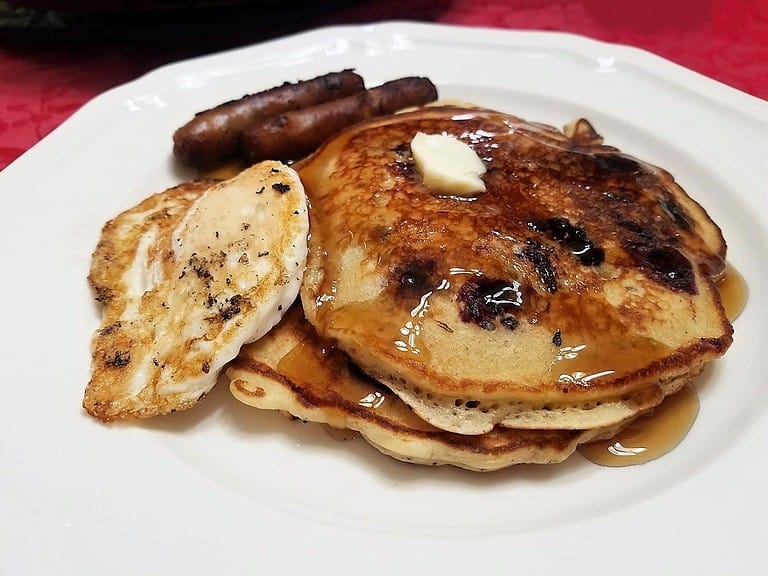
Discard Recipes: Artisan Crackers, Banana Bread, Biscuits, Cakes, Cider Donuts and Fritters, Crumpets, Crunchy Breadsticks, English Muffins and Pancakes.
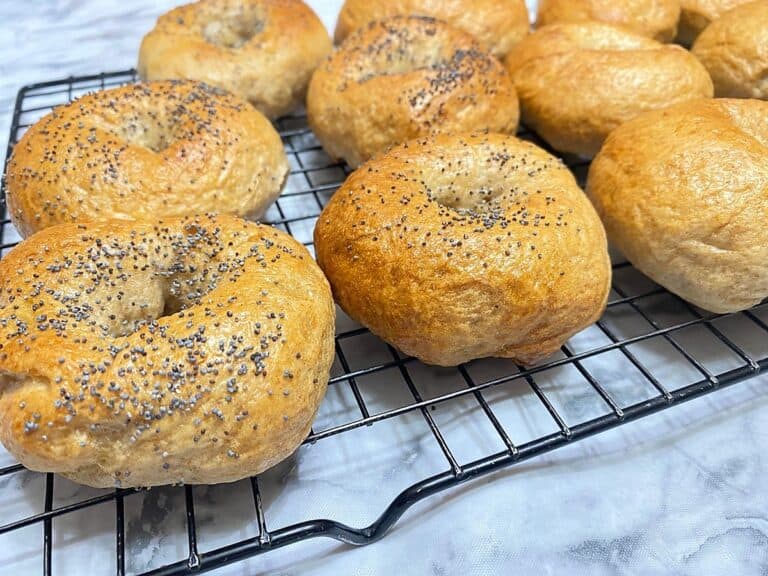
Active Recipes: Bagels, Baguettes, Bread Bowls, Chocolate Croissants, Cinnamon Rolls, Dinner Rolls, Flatbread, Hamburger Buns, Oat Bread, Pizza Dough, Pretzels, Rye Bread, Tangy Sourdough, and Whole Wheat Loaves.
Learn More About Sourdough
My Adventures with Sourdough began in June 2013. After all those years of baking some sort of sourdough bread each week, I can still say that we dearly love it. There are many recipes that use Sourdough Starter, and it’s what I use in my everyday baking.
Browse Similar Categories
Sourdough Starter


(As an Amazon Associate, I earn from qualifying purchases.)
Instructions Click to Start Cooking
- Pour 2 cups (4.73 dl) warm water into a 1.5 quart glass or ceramic container or bowl. Add 1 tablespoon (14.79 ml) honey and 1 tablespoon (14.79 ml) instant yeast. Gradually stir in 2 cups (250 g) all-purpose flour.Cover the bowl with a clean dish towel and place it in a warm spot. It is said that a dish towel or plastic wrap allows the starter to capture any wild yeast that is in the air, giving it a better flavor. The mixture will begin to bubble and brew almost immediately.
- Allow the starter to set on your counter for 2 days, stirring once a day. When the bubbles have subsided and a yeasty sour aroma has developed, it is time to “feed” your starter.
- Now that your starter has started to smell sour, it’s time to feed it. Remove up to a cup of the starter, also called “unfed starter,” or “discard”. This first week, you will discard the cup of starter into the trash. But it is essential that you get rid of one cup because the starter is going to grow. If you don’t discard it, you may find it bubbling over your container in a huge goopy mess.(When discarding, be sure to leave at least 1/4 cup of starter in your jar.)
- Add to the remaining starter: 1 cup all-purpose flour and 1/2 cup warm water. Stir to combine and cover.
- Continue this process of discarding and feeding your starter every 12 hours for the remaining of your first week to get the best “sour” taste from your mixture.
- After the first week, you may use your active starter in recipes! When you are done, you may refrigerate the starter in a glass or ceramic container.
- In these beginning days, it's best to try and use the starter at least once a week. To do this, remove the starter from the refrigerator and allow it to come to room temperature.
- Remove up to a cup of starter (discard). Feed the remaining starter with 1 cup of all-purpose flour and 1/2 cup lukewarm water. Stir to incorporate. Allow it to rise and once it has nearly doubled, it's ready to use in recipes. (You may also use the discard in a discard recipe such as biscuits, crackers, pancakes, etc.)
- The more you use your starter, the more vigorous it will become. This recipe will make about 2 cups of starter.
Nutrition
Did you make this recipe?
Let me know how it turned out!


Oh, my I love starter bread! When I got married, some 36 years ago, my husbands mother and grandmother both made sourdough bread. It was 'required' :-), that I learn to make it and I did for 26 + years and was the last one to still be making it. Then one day I forgot to save a starter. I cried. So no bread for almost 10 years then a few months ago a friend gave me a new starter and I've been making it again. We LOVE fry bread with sourdough starter! Hope you enjoy making it and it becomes a great family tradition for you! Blessings, Debbie
So far, I've made biscuits, English muffins, pancakes and two types of bread. Would you mind sharing the fry bread recipe with us? Glad you have a starter again! Do you refrigerate yours?